
How to Measure the Cylinder
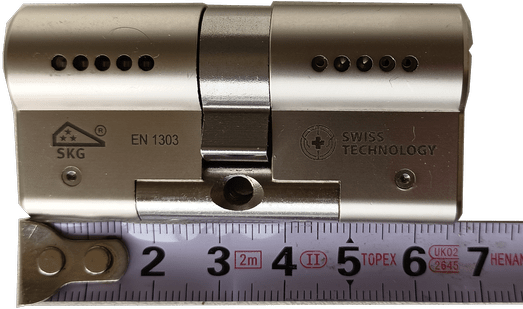
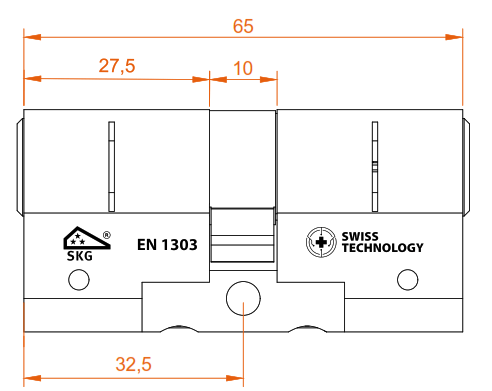
A Euro profile cylinder has two sides – the external and the internal side. The cylinder size is specified by two dimensions, for example 32+32, 35+40 or 40+50 mm.
The dimension of each side is measured from the centre of the fixing screw hole to the corresponding end of the cylinder.
For example, if the distance from the centre of the fixing screw to the external end is 40 mm and to the internal end is 50 mm, you need a 40+50 mm cylinder.
When choosing the cylinder size, take into account:
- the thickness of the door leaf;
- the position of the lock relative to the centre of the door;
- the thickness of the protective or decorative hardware.
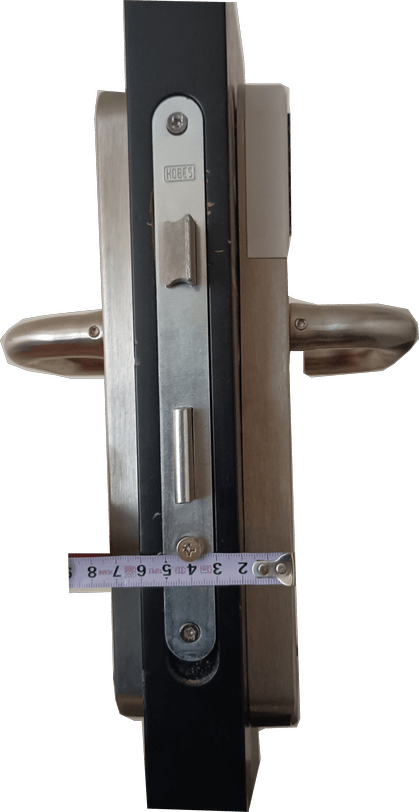
The cylinder should not protrude more than 3 mm beyond the external surface of the door or protective hardware. A cylinder that protrudes too far is significantly easier to grip and break from the outside.
If you want to determine the cylinder size yourself, measure the cylinder while it is installed in the door, or remove it and measure the distance from the centre of the fixing hole to each end of the cylinder.
Don’t want to work it out from the text? Search for a video showing how to properly measure a Euro profile cylinder.
How to Replace the Cylinder
The following instructions apply to a standard Euro profile cylinder installation – with a standard DIN cam, without protective hardware, and with the cylinder secured by a fixing screw from the edge of the lock.
If the door has protective hardware, the lock has a non-standard design, or the cylinder is secured in another way, follow the instructions provided by the door or lock manufacturer or consult a professional.
1. Remove the Fixing Screw
Open the door and locate the screw on the edge of the door, directly opposite the cylinder. Fully unscrew and remove this screw.
2. Turn the Key
Insert the key into the cylinder and turn it slightly – usually approximately 30° in either direction.
Turn the key until the cylinder’s internal cam is in a position where it does not prevent the cylinder from being removed from the lock.
Then pull the cylinder towards you and remove it from the lock.
3. Install the New Cylinder
Insert the new cylinder into the lock. Slightly turn the key so that the cam is in the correct position and the cylinder slides fully into the lock body.
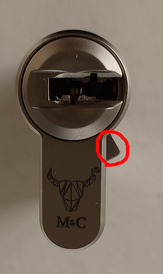
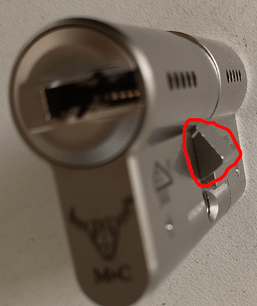
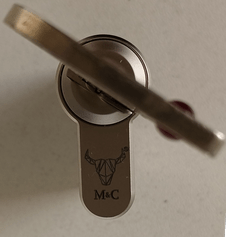
Secure the cylinder with the fixing screw.
Before fully tightening the screw, check that the lock operates correctly: the key should turn freely and the lock mechanism should operate smoothly without binding.
You can find more detailed video instructions on how to replace a Euro profile cylinder on YouTube.